
If you want to enhance the flavor of your hatch chiles roasting them is the way to go. Check out this guide to learn how to oven roast hatch chiles and freeze them so you can enjoy roasted hatch chiles year-round. It’s so simple and worth every minute.

Jessica Halverstadt is a participant in the Amazon Services LLC Associates Program, an affiliate advertising program designed to provide a means for sites to earn advertising fees by advertising and linking to Amazon.com. As an Amazon Associate, I earn from qualifying purchases.
Why roast hatch chiles?
Roasting the chiles gives them a nice smoky flavor, softens them, and allows you to easily peel the skins off. Many recipes call for roasted hatch chiles, so having them on hand comes in handy, and trust me, they are much better than the canned variety.
What are hatch chiles and when and where can you find them?
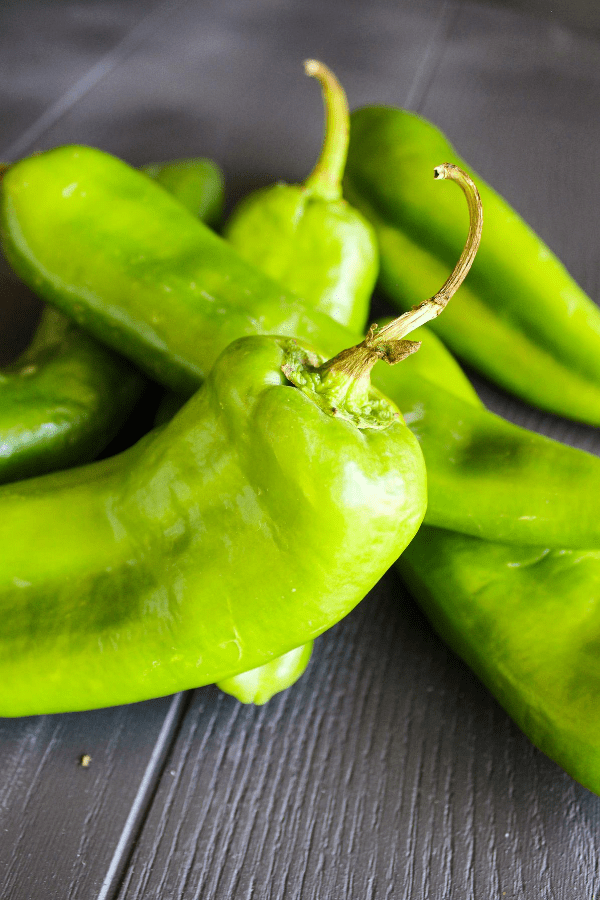
Hatch chiles are a variety of green chiles originating from New Mexico, specifically the Hatch Valley. They are naturally smoky in flavor and subtly sweet. As far as spiciness goes, they range from mild to extra hot.
Hatch chiles are in season for only a small period of time each year; early August through September. During this time many grocery stores carry them.
You can also order them fresh and have them delivered to your doorstep year-round from places like Hatch Chile Store.

How to roast hatch chiles in the oven ( + tips)
Ok, guys, this is going to be so easy! Are you ready?
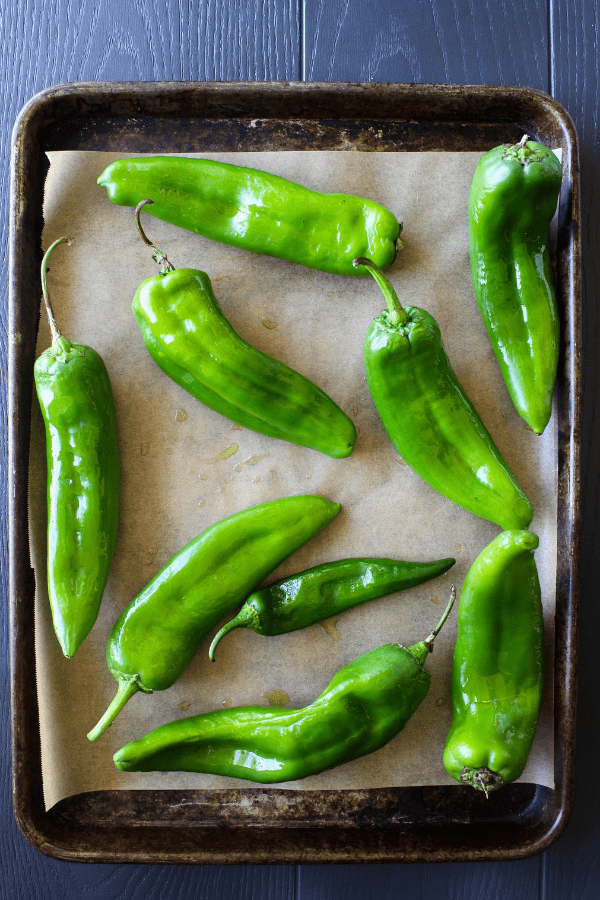
Begin by preheating your oven to 400 degrees or set your broiler to high heat. Line a baking sheet with parchment paper or tinfoil or lightly coat it with non-stick cooking spray.
Rinse and dry your peppers if you haven’t already, then place them on the baking sheet in a single layer. Lightly coat the chiles with olive oil.
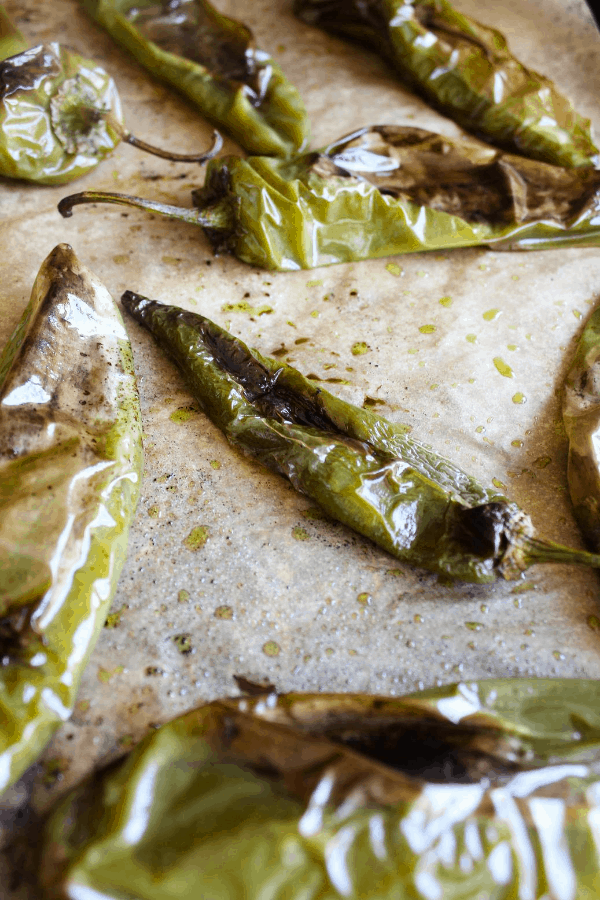
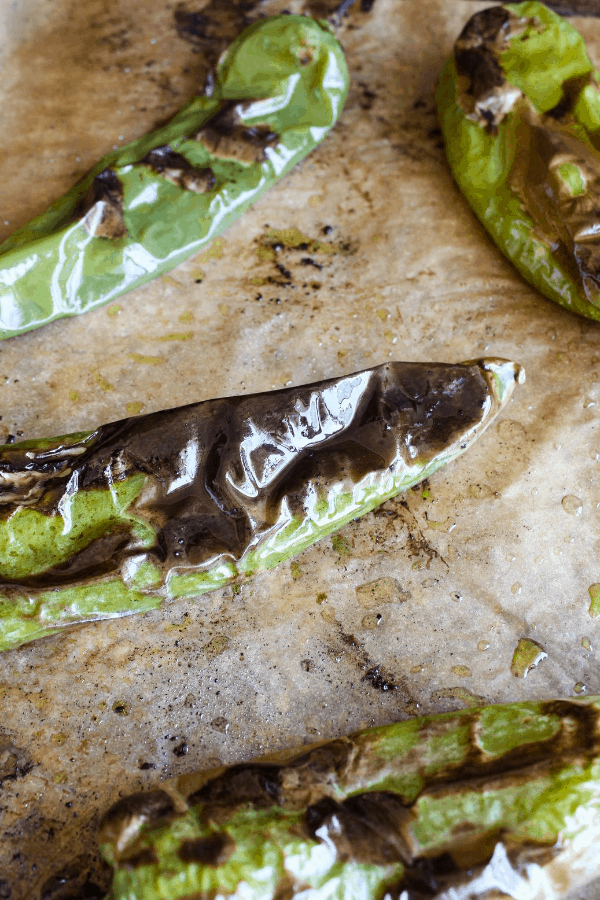
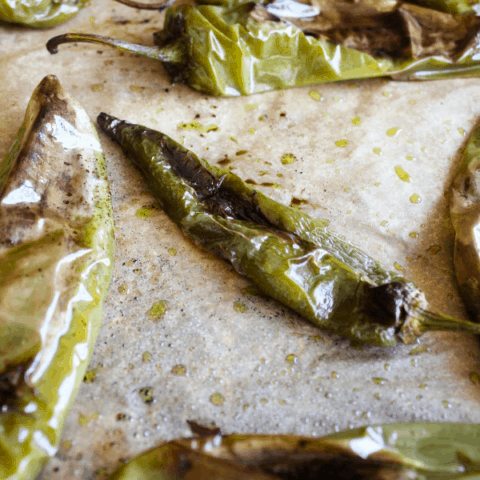
Bake the chiles for 20-30 minutes or broil for 5-10 minutes, or until they are charred and blistered, flipping halfway through. Remove the sheet pan from the oven.
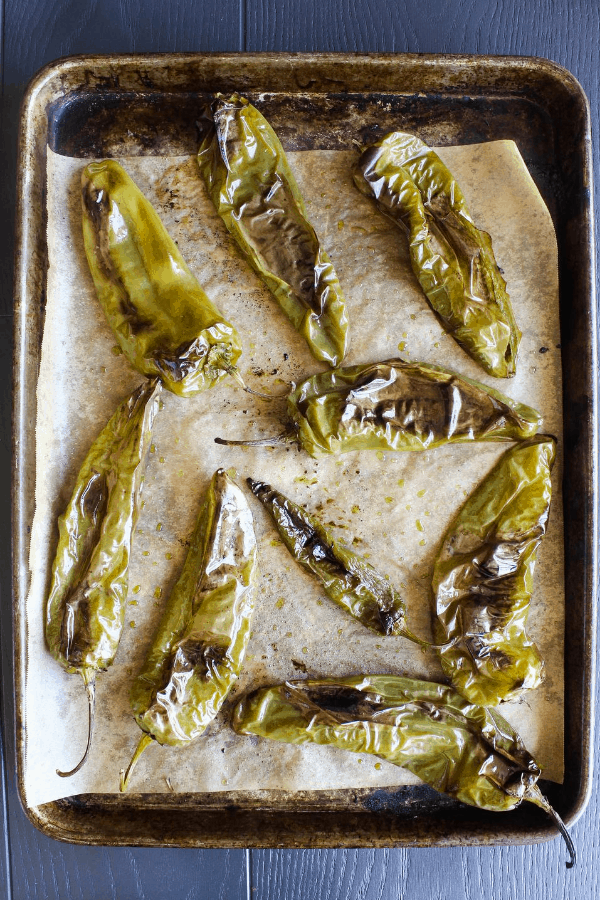

Transfer the chiles to a plastic baggy and seal or to a bowl and cover. Rest for at least 15-30 minutes. This process allows steam to build up within the container which in turn loosens the pepper skins making them easier to remove.


If you intend to use the chiles within the next two days, go ahead and remove the skins, stems, and seeds. I have found the easiest way to remove the seeds is to slice or tear open the pepper and gently scrape them out with a knife.


Can you freeze roasted hatch chiles?
Yes, in fact, I recommend it!!! These peppers are only in season August through September.
In order to have a supply year-round, I encourage you to roast and freeze them in small batches. It is best to leave the skins attached when freezing as they will last longer this way and doing so seals in the flavor. Once cool, place the roasted peppers in a plastic baggy or in a vacuum bag and vacuum seal. They will keep in the freezer for 12-18 months.
To thaw, simply place them in the refrigerator overnight. When ready to use, the skins should peel right off.
How to use roasted hatch chiles
- In soups and stews like chile verde.
- On sandwiches or burgers like these bacon hatch chile burgers.
- Add them to dips like this hatch chile queso bean dip
- Make a salsa or sauce like this hatch green chile sauce or this hatch enchilada sauce and smother it on these hatch chicken enchiladas.

Recommended Products
If you use this guide to roast hatch chiles, let me know how it went. Please leave a comment and/or a rating below as I greatly value your feedback. Or snap a pic and tag me on Instagram @taoofspiceblog. Love, light, and happy cooking ya’ll ♥

How to Roast Hatch Chiles
If you want to enhance the flavor of your hatch chiles roasting them is the way to go. Check out this guide to learn how to oven roast hatch chiles and freeze them so you can enjoy them year-round. It's so easy!
Materials
- Hatch chile peppers
- Olive Oil
- Parchment paper or tin foil (optional)
- Sheet pan
Tools
- Oven
Instructions
- Begin by preheating your oven to 400 degrees or set broiler to high heat. Line a baking sheet with parchment paper or tinfoil or lightly coat with non-stick cooking spray.
- Rinse and dry your peppers if you haven't already, then place them on the baking sheet in a single layer. Lightly coat the chiles with olive oil.
- Bake the chiles for 20-30 minutes or broil for 5-10 minutes, or until they are charred and blistered, flipping halfway through.
- Remove the sheet pan from the oven and transfer the chiles to a plastic baggy and seal or to a bowl and cover. Rest for at least 15-30 minutes.
- If you intend to use the chiles within the next two days, go ahead and remove the skins, stems, and seeds.
Storage: Refrigerate in an airtight container for up to two days or freeze with the skins attached in a plastic baggy or vacuum bag for 12-18 months. Thaw overnight in the refrigerator and remove skins prior to use.
Debbie
Monday 22nd of August 2022
Thank you! All we could find at our local store was mild Hatch chilies, but they turned out so good! We are first timers to Hatch chilies, and we are sold. We roasted ours in the oven.
Jay
Tuesday 21st of September 2021
Thank you Jessica. I broiled them according to your directions and they came out perfectly wonderful. I moved the top rack close to the broiler. I flipped them at 5 minutes and then set for 3 more minutes and kept an eye on them. I made 3 batches. 6 total pounds. They are cooling on the counter as I type this. Bless you and keep up the good work.